Over the decades we have seen drastic changes in technology and the changes continue over time. The main motto behind these changes is to AUTOMATE the process. It is the system of reducing the user interaction involved in the workflows of an enterprise through the procedure known as Business Process Automation. It helps Business Organizations to increase their productivity and efficiency. Salesforce provides many automation tools. In this article, we are going to discuss Flows in Salesforce.
What is Flow
Flow is an application inside the Salesforce that automates a business process by collecting data and performing operations in your org or an external system. Flow can fetch, delete, update and create records on multiple objects. Flows in Salesforce can be implemented in two ways
- Screen Flows
- Auto-launched Flow

Screen Flows
In this type of flow, there will be a series of screen elements to gather information from the user and perform some operation. Screen flows can be accessed from custom buttons, custom links, Visualforce Pages etc. This type of flow is implemented if a user interaction is needed in the process.
Auto-launched Flow
Auto-screenshot runs in the background without any user interaction. Auto-launched flows can be accessed from custom buttons, custom links, Visualforce Pages, process builder and Apex etc.
Consider a business scenario, an organizationwith name ABC PVT LTD has Accounts Object. The requirement is that Opportunity for an Account should be created automatically when a button is clicked on Account object. This can be achieved by creating a flow and accessing the flow using a custom button. Now I’ll be showing you how to create a salesforce flow to meet the above requirement.
Steps to Create Salesforce Flow
Below are the steps to create flow
- Go To setup-> Build-> Create-> Workflow& Approvals-> Flows.
- Click on the New Flow button. The following screen will be shown.
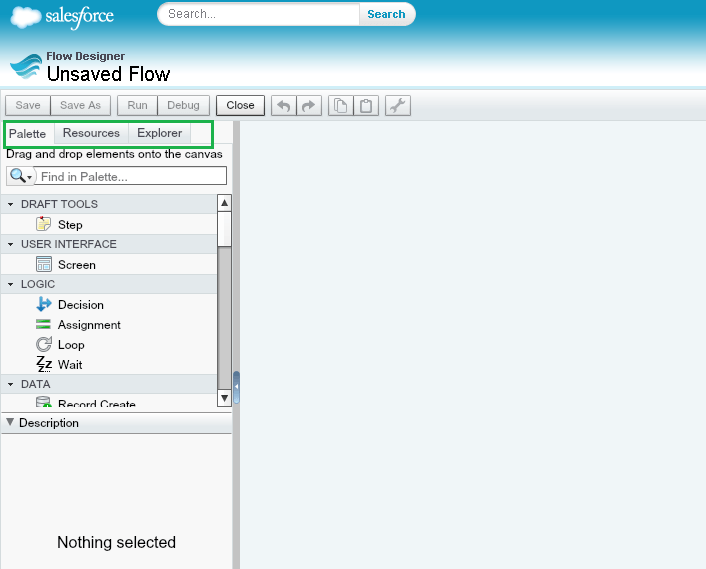
- There are three tabs in the above figure.
1.Palette: It consists of all the elements through which the user interacts. These elements are used to build logic. It consists of User Interface, Logic Elements, a Data section to handle DML operations in Salesforce, Quick Actions and Email Alerts.

2. Resources: Resources consist of Variables, formulae, Constant, sObject Variable etc. to collect the data, store the data and use them in the flow.
3. Explore: It consists of all the list of elements and resources which are used in the flow.
- Drag and drop the elements ontothe canvas to build the logic.
- Here we are creating opportunity from Account. We’ll create few variables to use in our flow. To create variable click onResource-> Variable. The following screen will be shown.

- Enter all the details. It’s very important to give a default value for a variable.
- Here I’ve created three variables:
-
- GetId: To store Account Id.
- AccName: To store Accounts name.
- OppId: To store Opportunity ID aftersuccessful creation.
- From the Palette, drag and drop the Record Create element onto the canvas.The Following screen will be shown.
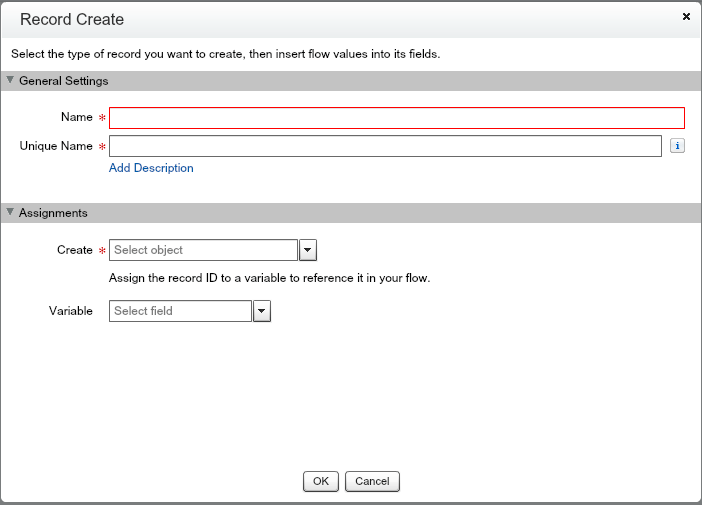
- Enter all the required details.

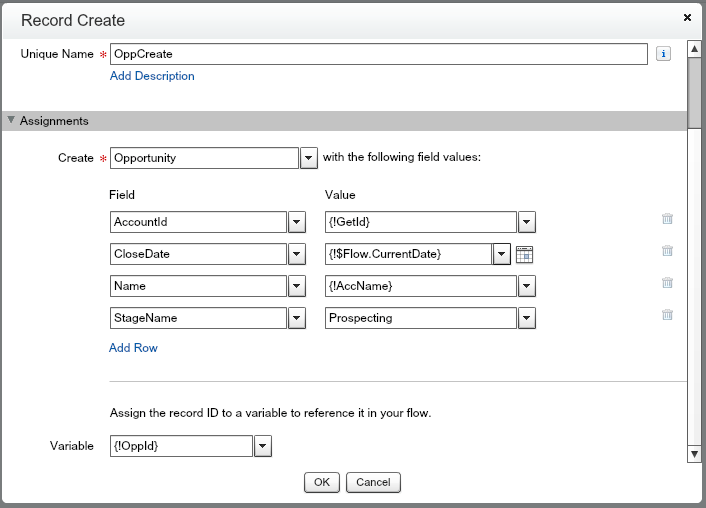
- Record create element is used to create a new record with specified details in a specified object. Here we’ve to create a new opportunity in Salesforce so we have selected Opportunity object from the Create picklist. To create an opportunity, we must specify values for all the mandatory fields. Following are the mandatory fields in Opportunity object.
- AccountId: Select the GetId variable from the dropdown list. As we are storing Account id in GetId variable.
- Name: Select the AccName variable from the dropdown list. Opportunity will be created with Accounts name.
- CloseDate: Select CurrentDate from the global variable.
- StageName: Select the picklist value. I’ve selected ‘Prospecting’ as a stage name.
- Click on Ok button to save the element.
- Once Opportunity is created, Iwant to show a success message with Opportunity Id on the screen.
- Drag and drop the Screen element from the palette tab. Thefollowing screen will be shown.
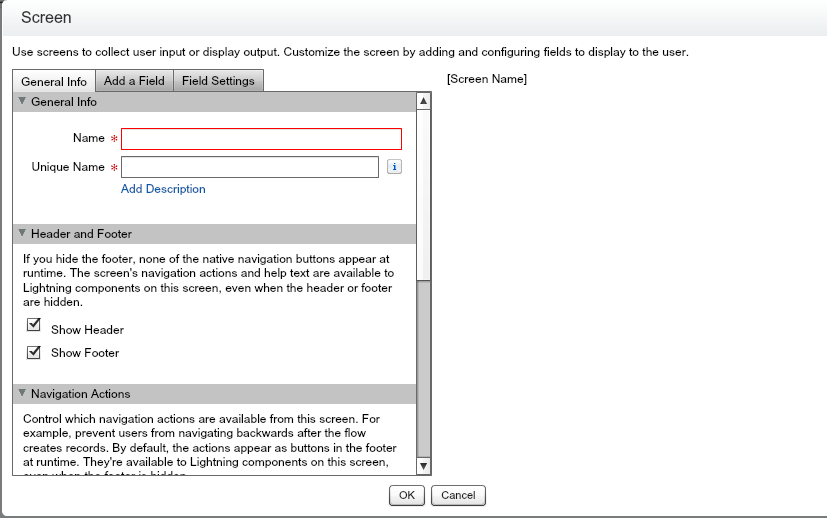
- Enter all the required details. Select “Display Text” field onto the screen from “Add a Field” tab.
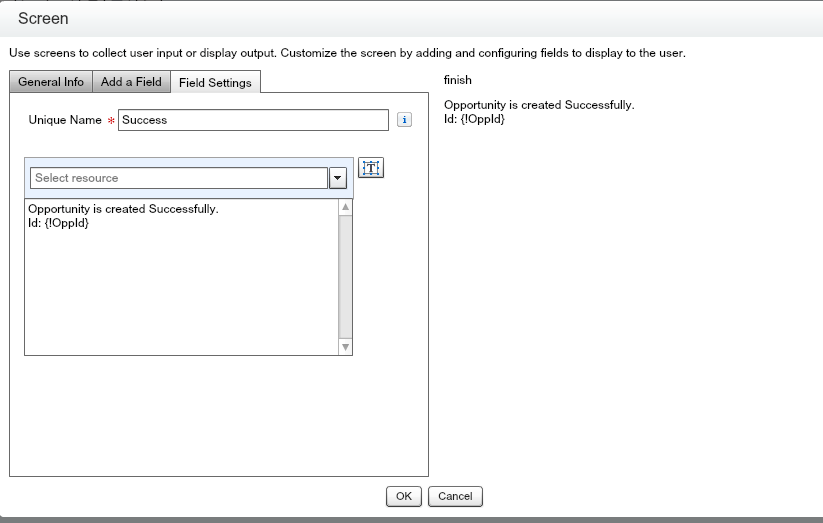

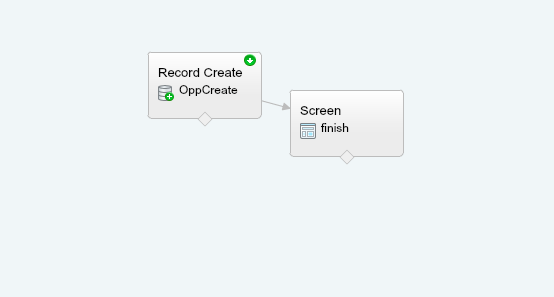
Enter the message you want to show. Select the OppId field from the dropdown list to display record Id. Click on the Ok button and connect the two elements as follow.
- Click on the Save button to save the flow.
- Now create a “Custom Button” on Accounts detail page with following URL
https://InstanceURL/flow/FlowName?GetId={!Account.Id}&AccName={!Account.Name}
- The above URL assigns values to GetId and AccName variables which are used in the flow.
- I’ve created a custom button with name “Create Opportunity” and added on the Accounts page layout.
We’ve successfully configured the SalesforceFlow. Now we will test the same.Following is the screenshot of an account detail page.
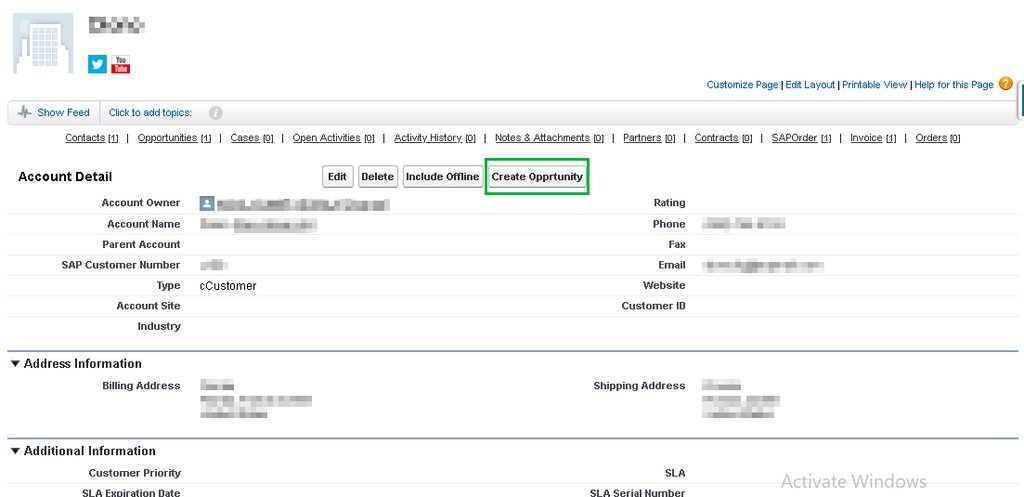
Above screenshot has the details of the account. Click on the “Create Opportunity” button to create an opportunity for this account.
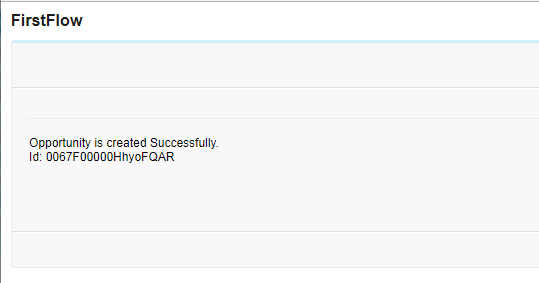
On successful creation, Opportunity ID is shown on the screen. Following is the Opportunity created by salesforce Flow.
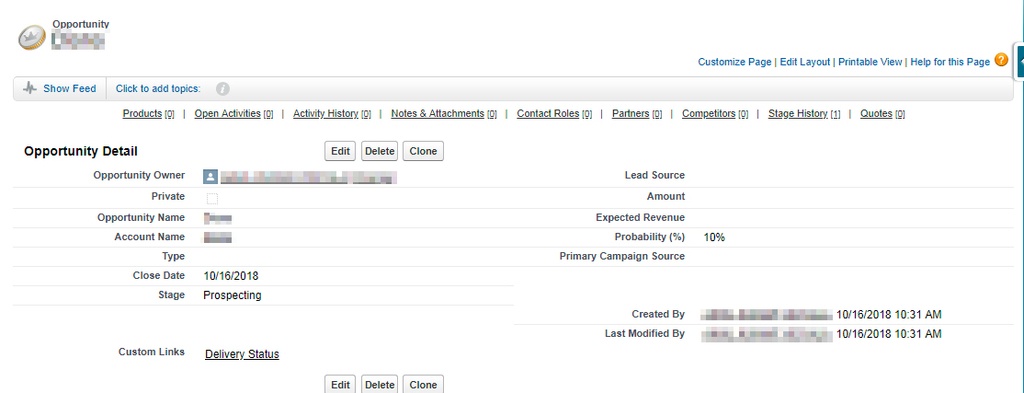
In this way, you can configure Salesforce Flow to automate your business process. You can also create multiple records, bulk update records and send email alerts using salesforce flow.
With Salesforce Flow you can automate several business processes, but if you want to take that automation to the next level through the full stack integration of your entire software ecosystem through a single platform, then implement APPSeCONNECT next-generation low-code intelligent integration for Salesforce CRM and achieve greater heights of success!

You may also like:
How to Create Sharing Rules in Salesforce
How to Create Reports and Dashboards in Salesforce
Understanding Roles in Salesforce

